Hexo-Butterfly主题基础美化
本文最后更新于 2024-05-23,文章内容可能已经过时。
前言
首先提示,本文量特别大哦!基本上有所有的美化,还在持续更新ing,谨慎入坑…
主题配置文件修改
基础配置
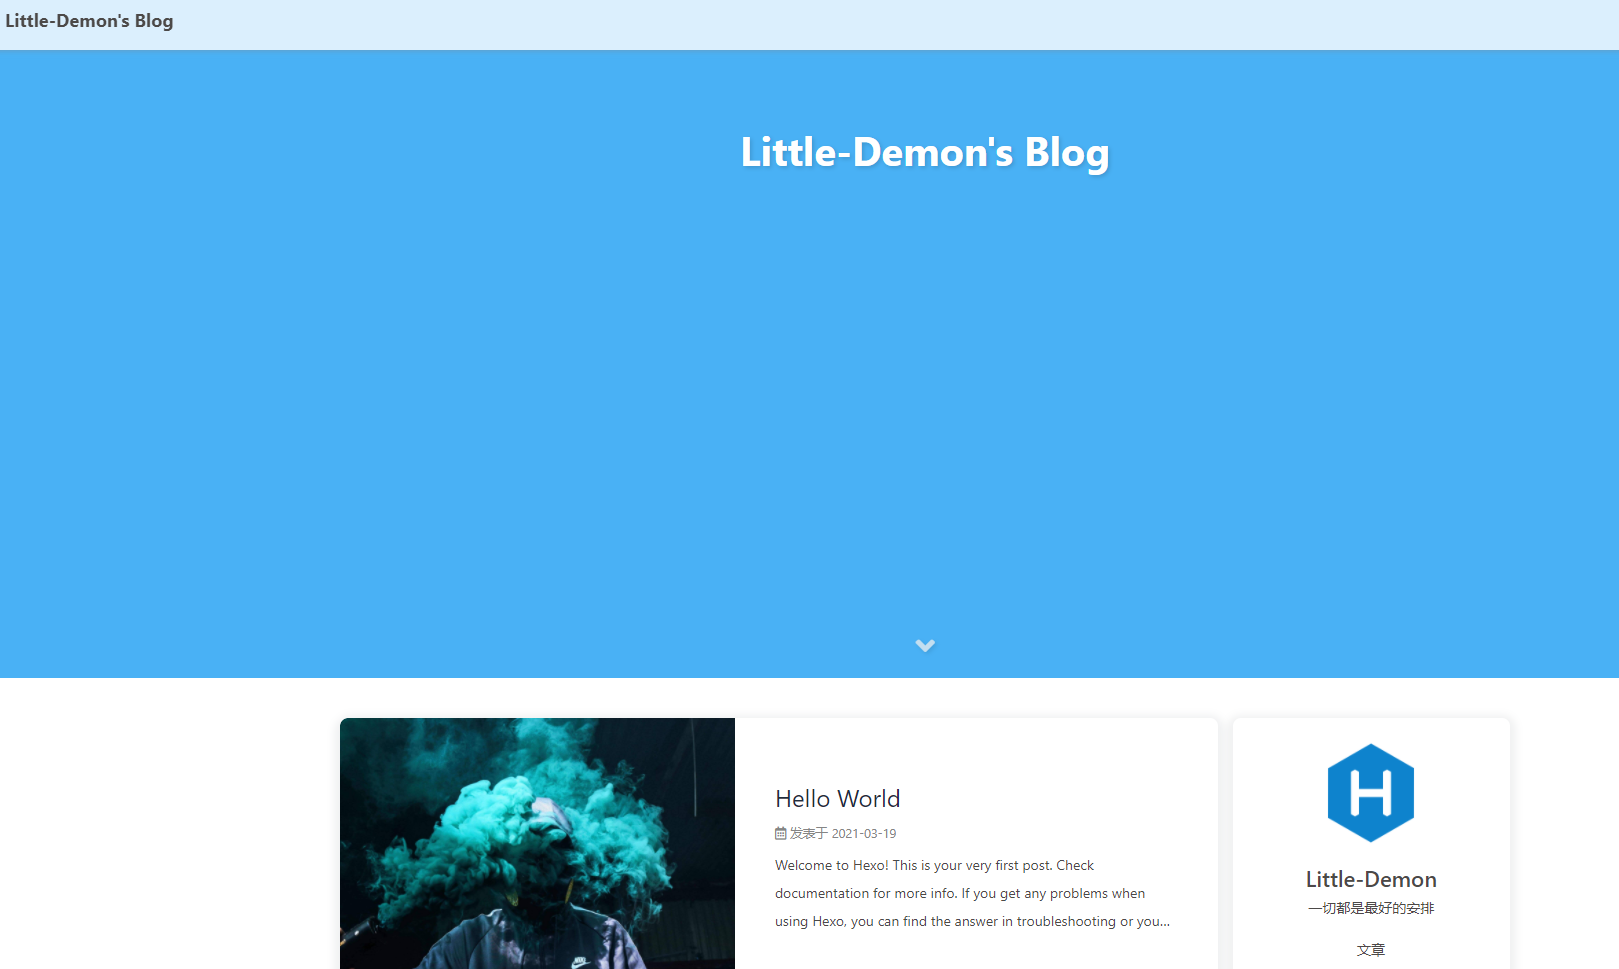
最最最开始的,好不容易搭建了自己的个人博客,当然要写上自己的名字、签名…,证明身份。而且身为一个Chinese,还是中文舒服,所以主目_config.yml的配置文件:
# Site
title: Little-Demon's Blog   #标题名字
subtitle: ''
description: '一切都是最好的安排'       #签名
keywords:
author: Little-Demon
language: zh-CN
timezone: ''
主题支持以下三种语言:
- default(en)
- zh-CN (简体中文)
- zh-TW (繁体中文)
导航栏修改
打开并修改根目录下的 _config.butterfly.yml文件中的menu:中内容
menu:
  首页: / || fa fa-home
  归档: /archives/ || fa fa-archive
  标签: /tags/ || fa fa-tags
  分类: /categories/ || fa fa-folder-open
  留言板: /messageboard/ || fa fa-paper-plane
  友链: /link/ || fa fa-link
  日志: /upadte/ || fa fa-bell
  Myself: /myself/ || fa fa-id-card
  菜单 || fa fa-list:
    - 关于 || /about/ || fa fa-sitemap
    - butterfly主题 || https://github.com/jerryc127/hexo-theme-butterfly/ || fa fa-heart

代码块样式
同样打开并修改根目录下的 _config.butterfly.yml文件中的highlight_theme等内容
## 代码块样式
highlight_theme: mac # darker / pale night / light / ocean / mac / mac light / false
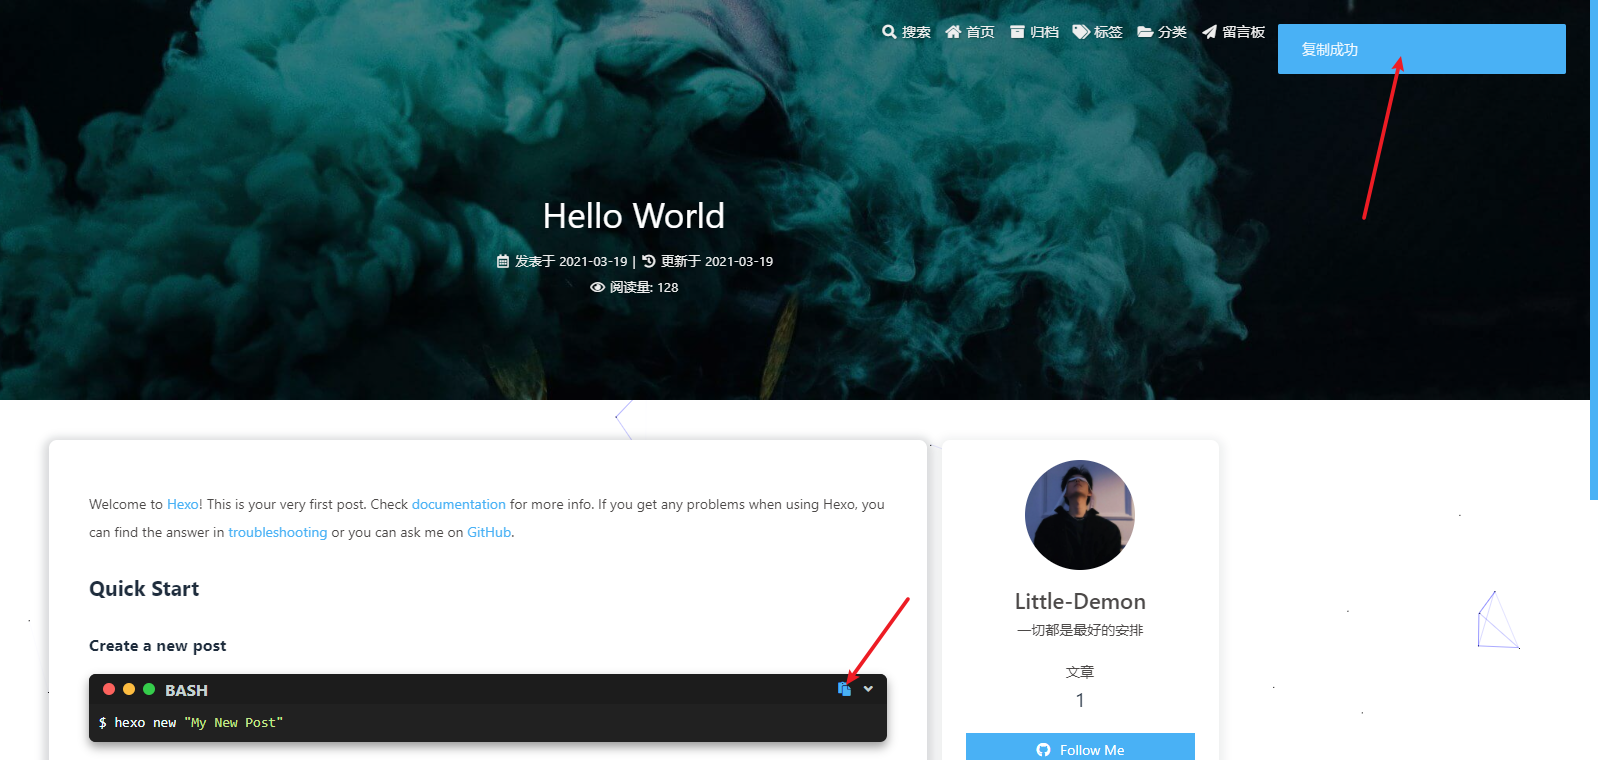
highlight_copy: true # copy button 是否显示复制按钮
highlight_lang: true # show the code language 是否显示代码块语言
highlight_shrink: false # true:打开文章默认折叠代码块内容/false:打开文章默认展开代码块/none:关闭代码折叠按钮
highlight_height_limit: false # unit: px
code_word_wrap: false # 关闭滚动条
同时根目录下找到Hexo 的站点配置文件_config.yml,将line_number改成false:
highlight:
  enable: true
  line_number: false   #改为false
  auto_detect: false
  tab_replace: ''
效果预览
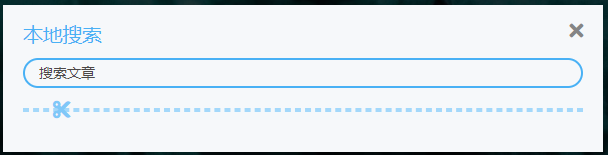
本地搜索
这里需要安装插件,不然hexo g直接报错:
npm install hexo-generator-search --save
# Local search 本地搜索
local_search:
  enable: true
  labels:
    input_placeholder: Search for Posts
    hits_empty: "We didn't find any results for the search: ${query}" # 如果没有查到内容相关内容显示
效果预览
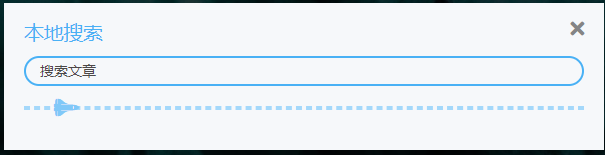
分割线图标更换
本次修改基于Butterfly主题 3.7.0 !
将图标更换为“太空飞船”。
修改rm :
hr_icon:
  enable: true
  icon: '\f197' # the unicode value of Font Awesome icon
  icon-top: -10px
icon-top常用数值:
-20px:图标位于分割线上方
-10px:图标位于分割线中间
-0px: 图标位于分割线下方
效果预览
创建标签文件夹
会在\source中创建对应的文件夹和index.md
归档
这个页面不用创建,自动已经带了
标签
命令行输入:
hexo new page tags
出现source/tags/index.md文件:
---
title: 标签
date: 2021-02-18 13:47:05
type: tags
comments: false
---
以后上传文章的md文件中,可以在标题头中加入tags,包含 标签 文章的例子:
---
title: 标签测试
tags:
  - test1                 (这个就是文章的标签了)
  - test2	              (这个就是文章的标签了)
---
分类
命令行输入:
hexo new page categories
出现source/categories/index.md文件:
---
title: 分类
date: 2021-02-18 13:52:11
type: categories
comments: false
---
以后上传文章的md文件中,可以在标题头中加入categories,包含 分类 文章的例子:
---
title: 分类测试
categories:
  - 分类1                   (这个就是文章的分类了)
  - 分类2                   (这个就是文章的分类了)
---
留言板
命令行输入:
hexo new page messageboard
出现source/messageboard/index.md文件:
---
title: 留言板
date: 2021-02-18 13:53:33
type: messageboard
---
# 留言板:
## <div align="center"> 有什么想说的? </font>
## <div align="center"> 有什么想问的? </font>
## <div align="center"> 有什么想吐槽的? </font>
## <div align="center"> 可以在下面留言... </font>
5友链
创建友情链接页面
命令行输入:
hexo new page link
出现source/link/index.md文件:
---
title: 友链
date: 2021-02-18 13:54:26
type: link
comments: false
---
友情链接添加
在Hexo目录中的source/_data,创建一个文件link.yml,内容如下:
class:
  class_name: 友情链接
  link_list:
    1:
      name: 姓名
      link: 链接
      avatar: 图片
      descr: 签名
    2:
      name: 姓名
      link: 链接
      avatar: 图片
      descr: 签名
更新日志
命令行输入:
hexo new page timeline
出现source/timeline/index.md文件:
---
title: Update
date: 2021-02-18 13:56:57
type: timeline
comments: false
---
关于
命令行输入:
hexo new page about
出现source/about/index.md文件:
---
title: 关于
date: 2021-02-18 13:58:07
type: about
comments: false
---
myself
命令行输入:
hexo new page myself
出现source/myself/index.md文件:
---
title: This is me
date: 2021-02-18 13:59:09
type: myself
comments: false
aside: false
---
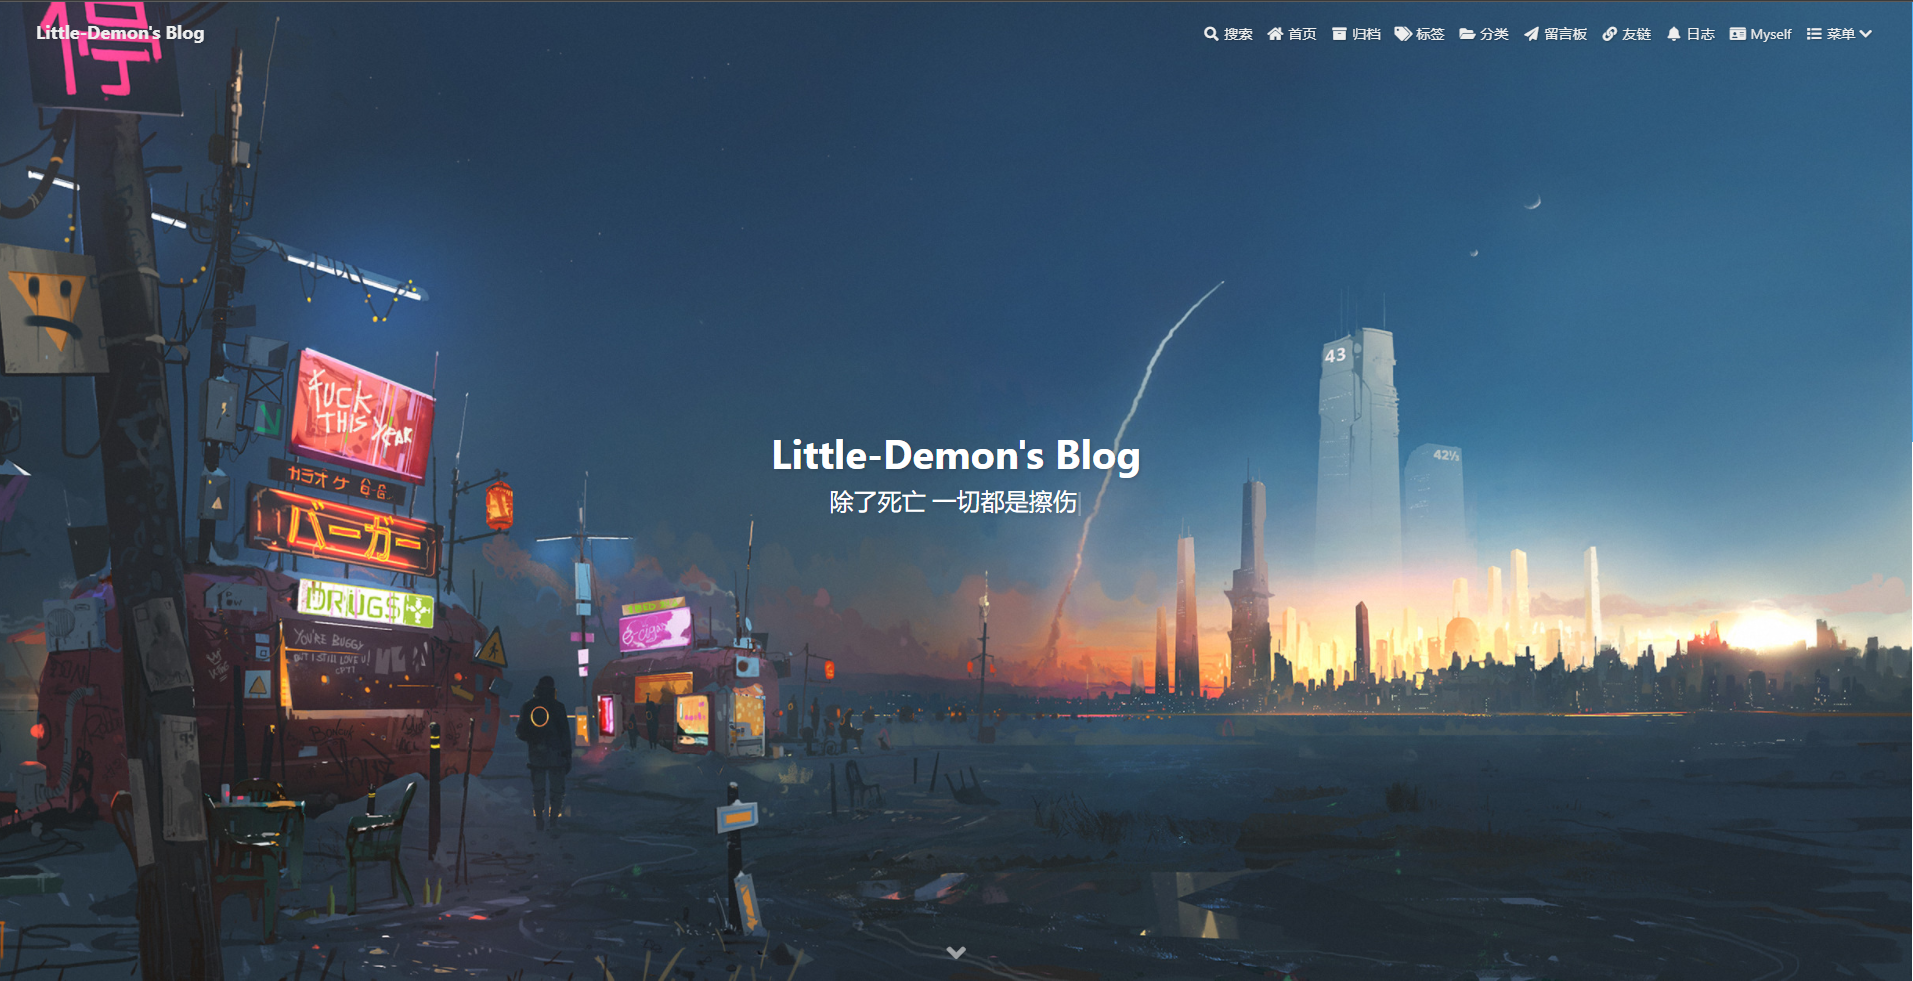
副标题修改
副标题设置
如果没设置副标题,上面的description:签名,就是显示在主页面。而设置的话,签名自动不显示,副标题出现。
在根目录下的 _config.butterfly.yml:
subtitle:
  enable: true
 sub:
    - 何其荣幸 何德何能
    - 所有的不平凡都来自平凡
这个他们可以设置以下,打字效果可以开启,个人感觉不错,但是需要注意:
# 如果有英文逗号' , ',使用转义字元 ,
# 如果有英文双引号' " ',使用转义字元 "
# 开头不允許转义字元,如需要,請把整个句子用双引号包住
# 如果关闭打字效果,subtitle只会显示sub的第一行文字
我的配置预览
# the subtitle on homepage (主頁subtitle)
subtitle:
  enable: true
  # Typewriter Effect (打字效果)
  effect: true
  # loop (循環打字)
  loop: true
  # source調用第三方服務
  # source: false 關閉調用
  # source: 1  調用搏天api的隨機語錄(簡體)
  # source: 2  調用一言網的一句話(簡體)
  # source: 3  調用一句網(簡體)
  # source: 4  調用今日詩詞(簡體)
  # subtitle 會先顯示 source , 再顯示 sub 的內容
  source: false
  # 如果有英文逗號' , ',請使用轉義字元 ,
  # 如果有英文雙引號' " ',請使用轉義字元 "
  # 開頭不允許轉義字元,如需要,請把整個句子用雙引號包住
  # 如果關閉打字效果,subtitle只會顯示sub的第一行文字
  sub:
    - 何其荣幸 何德何能
    - 所有的不平凡都来自平凡
    - 人生不能太圆满  求而不得也未必是遗憾
    - 除了死亡 一切都是擦伤
副标题字体大小颜色
在\themes\butterfly\source\css\_layout中的head.styl:
#site-subtitle
    color: var(--white)   //此处修改为白色
    font-size: 1.05em     // 字体大小

    +minWidth768()
      font-size: 1.40em   // 字体大小
图片设置
图片可以使用网上的图片(即使用该图片链接),也可以使用\themes\butterfly\source\img下的图片,打开Hexo根目录中主题配置文件 _config.butterfly.yml
网站图标
# Favicon(网站图标)
favicon: /img/favicon.jpg
头像
# Avatar (头像)
avatar:
  img: /img/tit.png
  effect: false
主页面图片
# The banner image of home page (主页的横幅图像)
index_img: /img/index_img.jpg
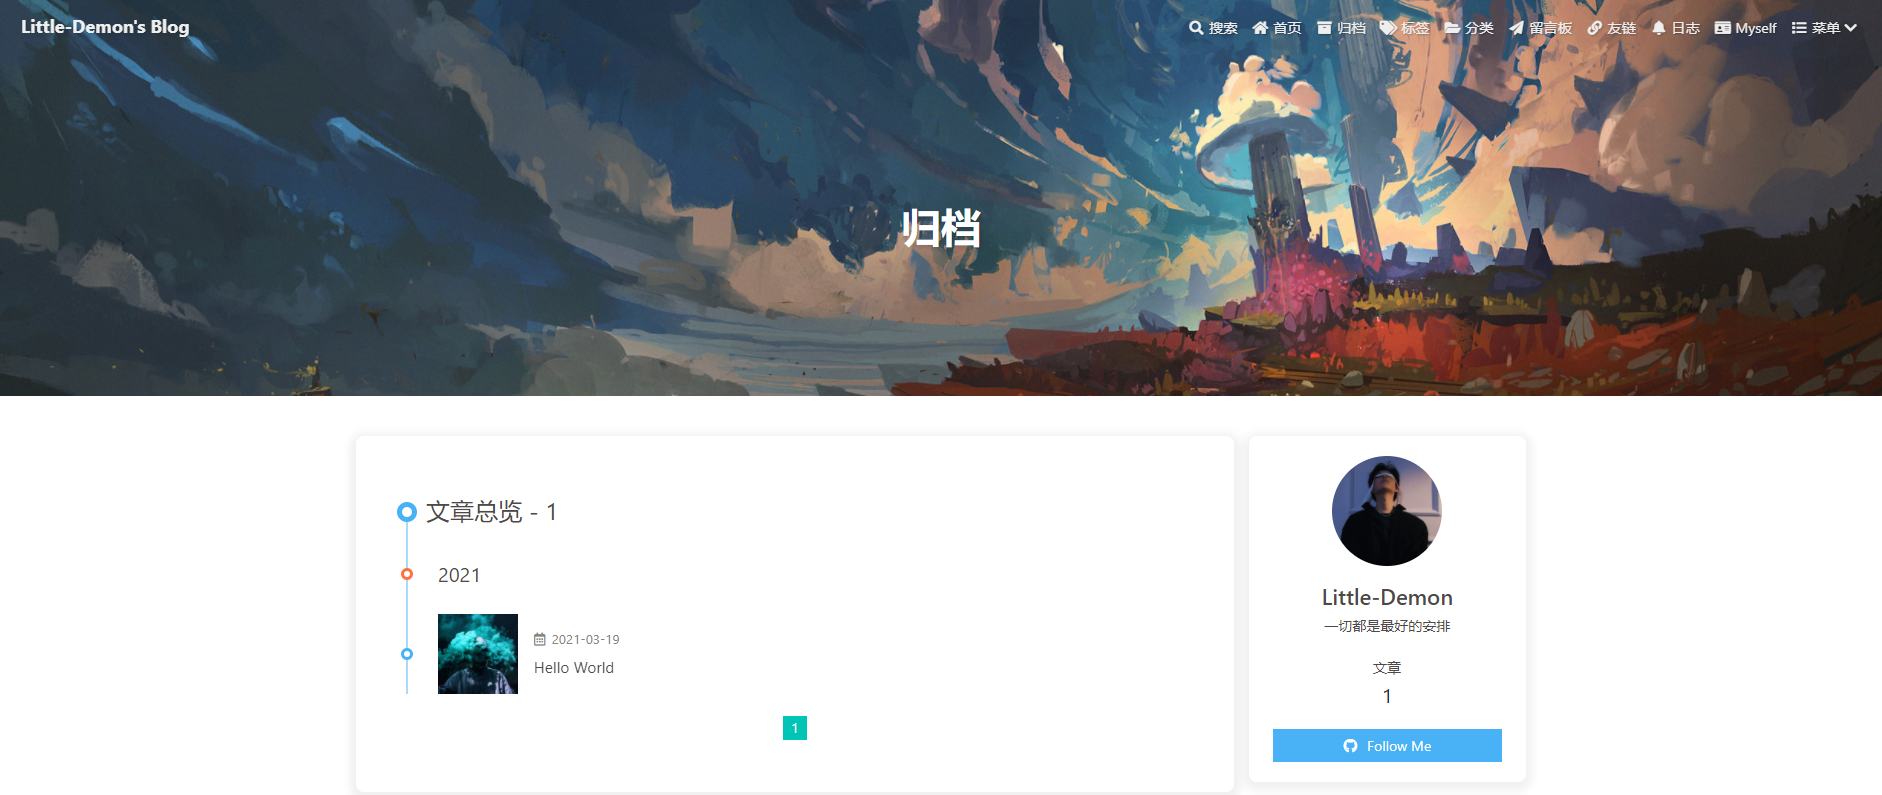
子标签页图片
# The banner image of archive page
archive_img: /img/tag.jpgg
推荐
-
主页的顶部图可以在
butterfly.yml设置index_img -
``archives
页的顶部图可以在Butterfly.yml设置archive_img` -
其他
page页的顶部图可以在各自的md页面设置front-matter中的top_img
效果预览
图片查看大图
修改主题配置文件 _config.butterfly.yml
这是两种方式,只能选择一个 或者 两个都不选
# Lightbox (圖片大圖查看模式)
# --------------------------------------
# You can only choose one, or neither (只能選擇一個 或者 兩個都不選)

# medium-zoom
# https://github.com/francoischalifour/medium-zoom
medium_zoom: false

# fancybox
# http://fancyapps.com/fancybox/3/
fancybox: true
图片懒加载
1.新增hexo-lazyload-image模块
npm install hexo-lazyload-image --save
2.在主目录配置文件_config.yml增加配置
lazyload:
  enable: true
  loadingImg: /img/loading.gif
这个就是图片没加载出来的时候,出现一个动图转转转。
文章页样式
修改主题配置文件 _config.butterfly.yml
复制的内容后面加上版权信息
# copy settings
# copyright: Add the copyright information after copied content (复制的内容后面加上版权信息)
copy:
  enable: true
  copyright:
    enable: false
    limit_count: 50
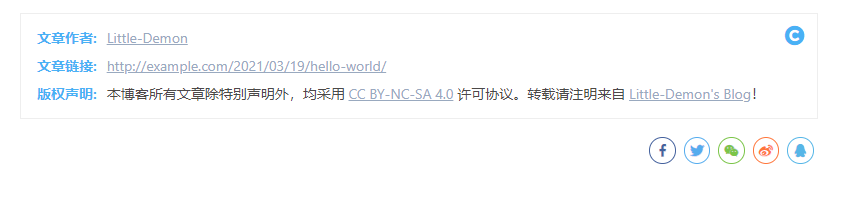
文章版权信息
在底部会出现对应的作者、链接、声明
post_copyright:
  enable: true
  decode: true
  license: CC BY-NC-SA 4.0
  license_url: https://creativecommons.org/licenses/by-nc-sa/4.0/
效果预览
Toc目录
在文章页,会有一个目录,用于显示TOC。
# toc (目錄)
toc:
  enable: true
  number: true
  auto_open: true # auto open the sidebar
相关文章
在文章最下面,会出现相关信息文章的推送。
# Related Articles
related_post:
  enable: true
  limit: 6 # Number of posts displayed  显示的文章数
  date_type: created # or created or updated 文章日期顯示創建日或者更新日
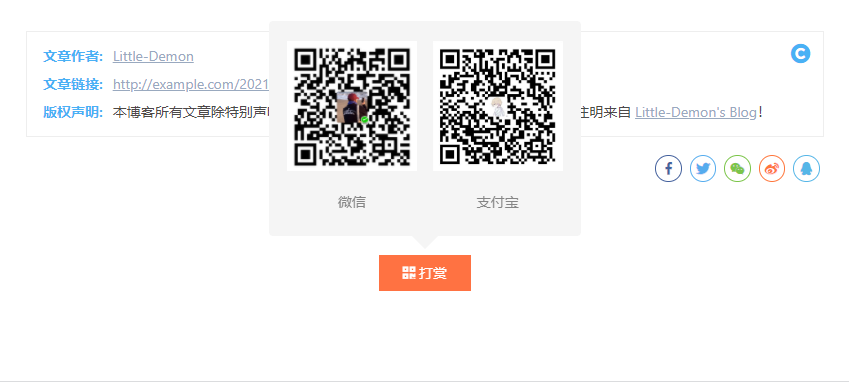
打赏
在你每篇文章的結尾,可以添加打赏按鈕。对应二維碼可以自行配置。
没有提供二维码的,可配置icon图片,然后在link上添加相应的打赏链接。用户点击图片就会跳转到对应链接去。
link可以不写,会默认为图片的链接。
# Sponsor/reward
reward:
  enable: true
  QR_code:
    - img: /img/wechat.png
      link:
      text: 微信
    - img: /img/alipay.jpg
      link:
      text: 支付宝
效果预览
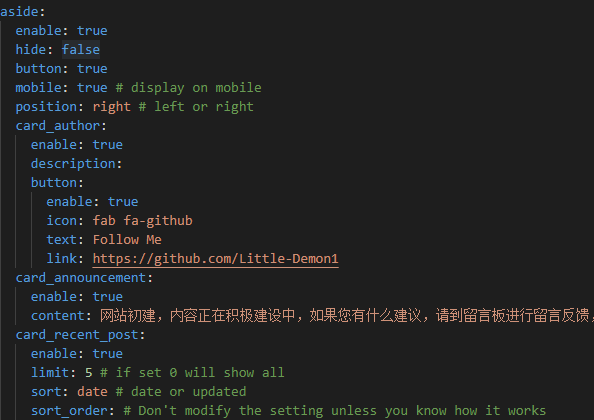
侧边框样式
侧边框出现位置
修改主题配置文件 _config.butterfly.yml:
# aside (側邊欄)
# --------------------------------------
aside:
  enable: true
  mobile: true # display on mobile
  position: left # left or right
left:侧边框出现在左侧
right:侧边框出现在右侧
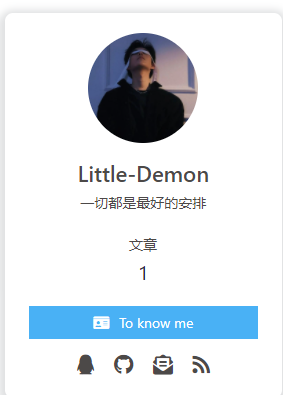
Follow me信息修改
对于图标具体可以参考Hexo-如何优雅的使用iconfont图标
公告栏
card_announcement:
    enable: true
    content: This is my Blog  #修改此处
修改参考:
访问人數和运行时间
# 訪問人數
busuanzi:
  site_uv: true
  site_pv: true
  page_pv: true

  # 網頁運行時間
runtimeshow:
  enable: true
  publish_date: 02/17/2021/ 00:00:00
  #格式: 月/日/年 時間
  #也可以 年/月/日 時間
效果预览:

特效部分
鼠标点击效果
修改主题配置文件 _config.butterfly.yml:
# Mouse click effects: fireworks (鼠標點擊效果: 煙火特效)
fireworks:
  enable: false
  zIndex: 9999 # -1 or 9999
  mobile: false

# Mouse click effects: Heart symbol (鼠標點擊效果: 愛心)
click_heart:
  enable: false
  mobile: false

# Mouse click effects: words (鼠標點擊效果: 文字)
ClickShowText:
  enable: true
  text:
    - 富强
    - 民主
    - 文明
    - 和谐
    - 平等
    - 公正
    - 法治
    - 爱国
    - 敬业
    - 诚信
    - 友善
  fontSize: 15px
  random: true
  mobile: true
打字特效
修改主题配置文件 _config.butterfly.yml:
# Typewriter Effect (打字效果)
# https://github.com/disjukr/activate-power-mode
activate_power_mode:
  enable: true
  colorful: true # open particle animation (冒光特效)
  shake: false #  open shake (抖動特效)
  mobile: true
页面效果(canvas_net)
修改主题配置文件 _config.butterfly.yml:
# canvas_nest
# https://github.com/hustcc/canvas-nest.js
canvas_nest:
  enable: true
  color: '0,0,255' #color of lines, default: '0,0,0'; RGB values: (R,G,B).(note: use ',' to separate.)
  opacity: 0.7 # the opacity of line (0~1), default: 0.5.
  zIndex: -1 # z-index property of the background, default: -1.
  count: 99 # the number of lines, default: 99.
  mobile: true
这个可以鼠标自动吸附。
Snackbar 弹窗
修改主题配置文件 _config.butterfly.yml:
# Snackbar (Toast Notification 彈窗)
# https://github.com/polonel/SnackBar
# position 彈窗位置
# 可選 top-left / top-center / top-right / bottom-left / bottom-center / bottom-right
snackbar:
  enable: true
  position: top-right  #弹窗位置
  bg_light: '#49b1f5' # The background color of Toast Notification in light mode
  bg_dark: '#121212' # The background color of Toast Notification in dark mode
开启后,在你设置的位置会有可爱的小弹窗出现,按个人爱好开启。
效果预览:
底部设置
修改主题配置文件 _config.butterfly.yml:
# Footer Settings
# --------------------------------------
footer:
  owner:
    enable: true
    since: 2020
  custom_text1: <div class="icp"><img src="https://gitee.com/little-demon1/BlogImages/raw/master/icp.png" href="https://beian.miit.gov.cn">苏ICP备2021009120号</span></a></div>
  custom_text: <a href="https://www.upyun.com/?utm_source=lianmeng&utm_medium=referral"><img src="https://cdn.jsdelivr.net/gh/xingjiahui/CDN/又拍云_logo.png"align="absmiddle" width="55px" height="30px" /></a><span>提供加速服务</span>
  copyright: false # Copyright of theme and framework
  # ICP:
  #   enable: true
  #   url: https://beian.miit.gov.cn
  #   text: 苏ICP备2021009120号
  #   icon: /img/icp.png
这里因为后期又拍云联盟标签图标的custom_text,这里在/themes/butterfly/layout/includes/widget/footer.pug/中添加:
if theme.footer.custom_text1
    .footer_custom_text1!=`${theme.footer.custom_text1}`
修改滚动条
1.创建一个css文件移动到\themes\butterfly\source\css目录下。
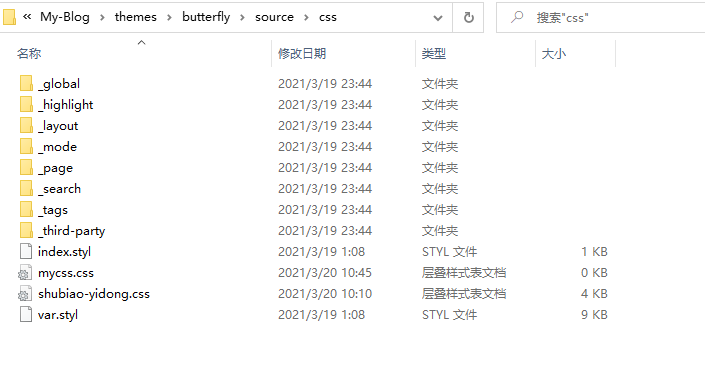
将以下代码复制到你所创建的css文件。
/* 滚动条 */
::-webkit-scrollbar {
  width: 8px;
  height: 8px;
}

::-webkit-scrollbar-track {
  background-color: rgba(73, 177, 245, 0.2);
  border-radius: 2em;
}

::-webkit-scrollbar-thumb {
  background-color: #49b1f5;
  background-image: -webkit-linear-gradient(
    45deg,
    rgba(255, 255, 255, 0.4) 25%,
    transparent 25%,
    transparent 50%,
    rgba(255, 255, 255, 0.4) 50%,
    rgba(255, 255, 255, 0.4) 75%,
    transparent 75%,
    transparent
  );
  border-radius: 2em;
}

::-webkit-scrollbar-corner {
  background-color: transparent;
}

::-moz-selection {
  color: #fff;
  background-color: #49b1f5;
}
2.引入方式
在主题配置文件 _config.butterfly.yml中引入:
inject:
  head:
    # - <link rel="stylesheet" href="/xxx.css">
    - <link rel="stylesheet" href="/css/mycss.css"> #引入自建的页面滚动条
页脚渐变
将以下代码复制到所创建的css文件,引入即可。
可参考:修改滚动条部分中的引入方式
/* 页脚footer */
/* 渐变色滚动动画 */
@-webkit-keyframes Gradient {
    0% {
        background-position: 0 50%;
    }

    50% {
        background-position: 100% 50%;
    }

    100% {
        background-position: 0 50%;
    }
}

@-moz-keyframes Gradient {
    0% {
        background-position: 0 50%;
    }

    50% {
        background-position: 100% 50%;
    }

    100% {
        background-position: 0 50%;
    }
}

@keyframes Gradient {
    0% {
        background-position: 0 50%;
    }

    50% {
        background-position: 100% 50%;
    }

    100% {
        background-position: 0 50%;
    }
}
#footer {
    background: linear-gradient(-45deg, #ee7752, #ce3e75, #23a6d5, #23d5ab);
    background-size: 400% 400%;
    -webkit-animation: Gradient 10s ease infinite;
    -moz-animation: Gradient 10s ease infinite;
    animation: Gradient 10s ease infinite;
    -o-user-select: none;
    -ms-user-select: none;
    -webkit-user-select: none;
    -moz-user-select: none;
    user-select: none;
    border-top-left-radius: 10px;
    border-top-right-radius: 10px;
}
#footer:before {
    background-color: rgba(0, 0, 0, 0);
}
更换背景及透明度
透明度
将以下代码复制到你所创建的css文件,引入即可。
可参考:修改滚动条部分中的引入方式
/* 文章页背景 */
.layout_post>#post {
    /* 以下代表白色透明度为0.3 */
    background: rgba(255,255,255,.3);
}

/* 所有背景(包括首页卡片、文章页、页面页等) */
#aside_content .card-widget, #recent-posts>.recent-post-item, .layout_page>div:first-child:not(.recent-posts), .layout_post>#page, .layout_post>#post, .read-mode .layout_post>#post{
    /* 以下代表白色透明度为0.3 */
    background: rgba(255,255,255,.3);
}
更换背景
老规矩,复制到所创建的css文件,引入即可
#web_bg {
background-image: linear-gradient(to top, #fff1eb 0%, #ace0f9 100%);
}
当然这是我的博客背景。
移动端优化
\themes\butterfly\source\css\_third-party\normalize.min.css添加如下css代码:
/*移动端优化:去除归档、标签、最新文章、公告、、只保留网站统计*/
@media screen and (max-width: 800px) {
    #aside_content
    div:not(:last-child) {
        display: none;
        font-size: 13px;
    }
}
查看网页RSS
本次修改基于Butterfly主题 3.7.0 !
实现:增加社交图标RSS,点击可查看网页RSS。
1.下载插件hexo-generator-feed
npm install hexo-generator-feed --save
2.在hexo的站点主配置文件_config.yml中任意位置添加以下代码:
feed:
  type: atom
  path: atom.xml
  limit: 20
  hub:
  content:
  content_limit: 140
  content_limit_delim: ' '
  order_by: -date
  icon: icon.png
  autodiscovery: true
  template:
3.修改butterfly主题配置文件_config.yml ,添加RSS的图标:
social:
  fa fa-rss: /atom.xml || RSS链接
社交信息设置
在博客根目录下 _config.butterfly.yml中修改social:
(可以选择使用fa fa-xxx图标,也可以选择使用阿里iconfont图标)
# social settings (社交圖標設置)
# formal:
#   icon: link || the description
social:
  fab fa-qq:  tencent://AddContact/?fromId=45&fromSubId=1&subcmd=all&uin=728036382&website=www.oicqzone.com
  fas fa-envelope-open-text: mailto:728036382@qq.com || Email
  fa fa-rss: /atom.xml || RSS链接
效果预览
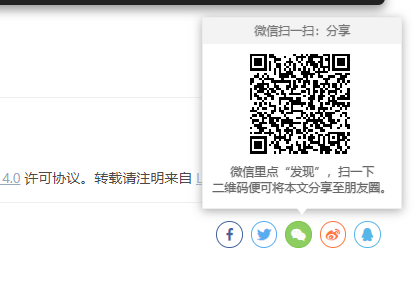
分享功能
在博客根目录下 _config.butterfly.yml中修改:
sharejs:
  enable: true
  sites: facebook,twitter,wechat,weibo,qq  #想要显示的內容
效果预览
- 感谢你赐予我前进的力量
-
 微信
微信  支付宝
支付宝